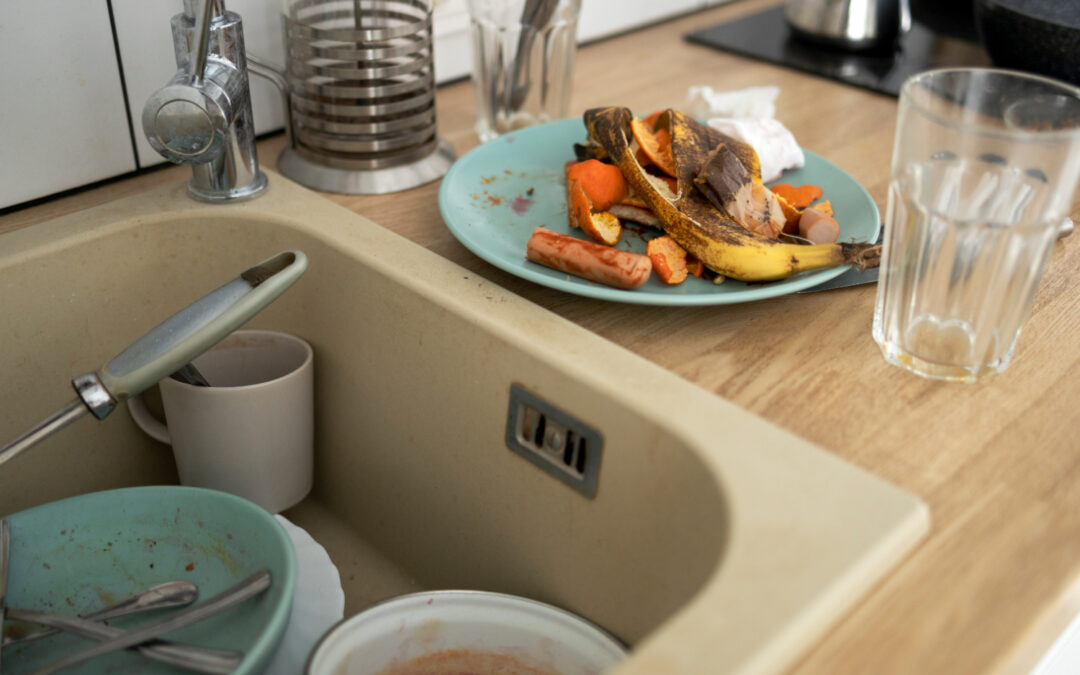
Garburators, also known as garbage disposals, are handy devices in our kitchens. They help manage food waste efficiently, making our kitchen clean-up easier. These small machines are fitted under the kitchen sink and are connected to the drain. When we drop food scraps into the sink, the garburator grinds them into tiny particles, allowing them to be safely washed down the drain.
Using a garburator reduces the amount of food waste we send to landfills, which is good for the environment. They are particularly useful for breaking down leftover foods that might otherwise clog our kitchen drains. Having a garburator can save us from frequent plumbing issues and reduce the need for chemical drain cleaners.
Read on as we explore what garburators are and how they work. We will also look at the benefits of having a garburator in our kitchen, covering installation steps and tips for keeping them in good working order. Let’s dive into the world of garburators to understand how they can make our kitchen more efficient and eco-friendly.
What Are Garburators and How Do They Work?
Garburators, also called garbage disposals, are devices installed under our kitchen sinks to help manage food waste. When we put food scraps down the sink, the garburator grinds them into tiny particles. This prevents the waste from clogging our pipes and allows it to flow smoothly through our plumbing system.
The garburator is connected to the drain and operates with a simple switch. Once turned on, an electric motor inside spins blades or shredders. These blades break down food scraps into small enough pieces to be flushed down the drain with water. Most garburators can handle a variety of food waste, including vegetable peels, fruit rinds, and small bones.
Garburators are built with safety features. For instance, they often include a rubber splash guard to keep food bits from flying out while in use. Additionally, modern models are designed to shut off if they become jammed or overheated, reducing the risk of damage to the unit or our plumbing.
By understanding how garburators work, we can see how they help keep our kitchens clean and manage food waste efficiently. They make it easier to handle everyday kitchen tasks and maintain a functioning plumbing system.
Benefits of Using Garburators in Our Kitchens
Using garburators offers several practical benefits for our kitchens. Here are some of the key advantages:
1. Reduced Food Waste:
Garburators help reduce the amount of food waste we throw in the trash. This minimises the amount of garbage we produce and can help reduce landfill waste. It’s an eco-friendly solution that supports our efforts to live more sustainably.
2. Preventing Clogs and Blockages:
Garburators grind food waste into small particles, which are easily washed away through our plumbing system. This helps prevent clogs that can cause backups and unpleasant odours in our sinks. By using a garburator, we maintain a cleaner and more efficient drainage system.
3. Convenience and Efficiency:
Having a garburator makes kitchen clean-up faster and more convenient. We can dispose of food scraps directly in the sink, reducing the need to manually scrape plates into the trash. This saves time and keeps our kitchen smelling fresher.
4. Reduced Attraction of Pests:
By grinding and flushing away food waste, garburators help reduce the risk of attracting pests like ants, flies, and rodents that are drawn to food scraps in the trash. This creates a more hygienic kitchen environment.
5. Environmental Benefits:
Using a garburator can have positive environmental impacts. By reducing the amount of organic waste in landfills, we can help decrease the production of methane gas, a harmful greenhouse gas. This contributes to a healthier planet.
Overall, garburators are a valuable addition to any kitchen. They offer practical benefits, from reducing food waste and preventing clogs to making clean-up easier and promoting a more eco-friendly lifestyle.
How to Install a Garburator
Installing a garburator is a great way to make our kitchen more efficient. Here’s a simple guide to help us through the installation process:
1. Gather Tools and Materials:
We will need a garburator, plumber’s putty, a screwdriver, a pipe wrench, and possibly some additional pipe fittings. Make sure to read the manufacturer’s instructions carefully before starting.
2. Turn Off the Power:
Always start by turning off the electrical power to the kitchen sink area. Identify and switch off the correct circuit breaker to prevent any accidents during installation.
3. Remove the Existing Drain:
If we have an existing drain or old unit, remove it carefully. Loosen and disconnect the drainpipe and any mounting brackets using the pipe wrench and screwdriver.
4. Install the Mounting Assembly:
Apply a ring of plumber’s putty around the sink drain opening. Attach the garburator’s mounting assembly to the sink, pressing it firmly into the putty. Secure the mounting ring underneath the sink, tightening it with the provided screws.
5. Connect the Garburator:
Next, align the garburator with the mounting ring and twist it into place until it locks securely. Connect the discharge tube to the garburator and the existing plumbing.
6. Make Electrical Connections:
If the garburator is powered by plugging into an outlet, connect the power cord appropriately. For hardwired units, follow the manufacturer’s instructions to connect the wires safely.
7. Test the System:
Turn the water on and check for leaks around the garburator and the plumbing connections. Restore the power and run the garburator to ensure it operates smoothly.
By following these steps, we can install a garburator effectively, helping to streamline our kitchen waste management.
Tips for Maintaining and Troubleshooting Garburators
Maintaining a garburator ensures it works efficiently and lasts longer. Here are some practical tips:
1. Regular Cleaning:
Keep the garburator clean by running it regularly. Use cold water and small amounts of dish soap to help flush through the system. Avoid strong chemicals that could damage the unit.
2. Avoid Certain Foods:
Do not put fibrous materials like celery, potato peels, or bones into the garburator. These items can cause clogs or damage the blades. Dispose of them in the compost or trash instead.
3. Run Water During Use:
Always run cold water before, during, and after using the garburator. This helps flush food particles through the plumbing and prevents clogs.
4. Sharpen the Blades:
Keep the blades sharp by occasionally grinding small ice cubes. This helps maintain the cutting efficiency of the garburator.
5. Freshen Up:
To eliminate unpleasant odours, grind citrus peels or use a mixture of baking soda and vinegar. These natural cleaners help freshen the unit without causing damage.
6. Troubleshoot Common Issues:
If the garburator stops working, first check the power supply. Ensure it is plugged in and the circuit breaker has not tripped. Press the reset button on the bottom of the unit if it has stopped. For jams, use the provided wrench to manually turn the blades and dislodge any stuck debris.
7. Professional Help:
If we face complex issues or persistent problems, contact a professional plumber. Regular maintenance checks by a professional can prevent major issues and ensure the garburator operates efficiently.
By following these maintenance tips, we can keep our garburator in good working order, ensuring it serves us well for years to come.
Why Garburators Are a Must-Have for Modern Kitchens
Garburators offer a convenient and eco-friendly way to handle kitchen waste. By understanding what garburators are and how they work, we can see their value in reducing food waste and preventing plumbing issues. They not only make kitchen chores easier but also contribute to a cleaner environment.
For more information or professional installation and maintenance services, contact Pipes Plumbing. Our team of the best plumbers in Ottawa is ready to assist with all your plumbing and heating needs, ensuring your home runs smoothly and efficiently!